In the current digital age, opting for security and surveillance devices such as CCTV cameras is one of the best decisions you could ever make. Arlo is one of the renowned brands in the security market and is rapidly adopted by millions of users due to its smart features & easy installation. If you also want to secure your premises and want peace of mind, then perform the Arlo Camera Setup firsthand. By installing and configuring the Arlo smart security camera within your premises, you can leave your worries behind and enjoy security 24/7. To perform this configuration procedure, go through this blog post!
Before You Initiate the Arlo Security Camera Setup
When you plan to accomplish the Arlo Camera Setup, you must be ready with some important things. These things include a fully charged Arlo camera and base station, administrative details, the Arlo app, a USB cable, etc.
Further, unbox your device box, and find a place to mount the camera. Then, drill the holes, and attach a mounting plate or anchors to mount the camera. Further, charge the camera batteries sufficiently and insert the SD card. Then, connect your camera to a power source and turn it on (for wired cameras). Otherwise, press the Power button to turn it on and finish the installation.
How to Perform the Arlo Camera Setup Expertly?
After completing the installation of the Arlo security camera, you should now move forward to perform the basic configuration. Further, there are two ways to set up the Arlo security devices, which are through the web interface and using the Arlo Secure: Home Security app. So, if you want to learn How To Set Up Arlo Camera, then follow the instructions below.
Instructions For Setting Up Arlo Wire-Free Camera on the App
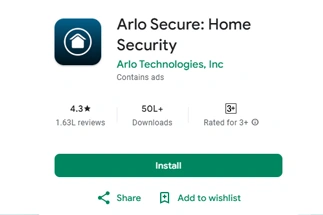
- Firstly, install or update the Arlo Secure app on your phone.
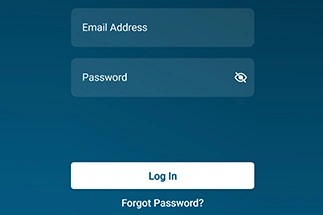
- Then, open it and access the admin account using valid details.
- Further, you enter the home page of the app.
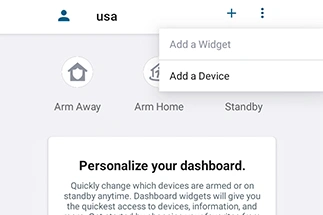
- Now, scroll down to the bottom and select ‘Add New Device’.
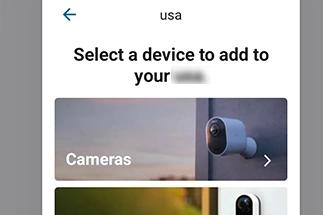
- On the next screen, tap ‘Cameras’ from the available device list.
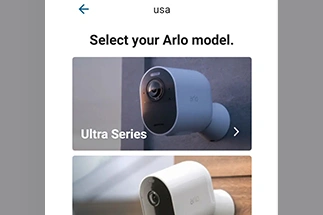
- Hereon, tap ‘Others’ from the ‘Select Your Arlo Model’ screen.
- Now, you visit the ‘Legacy’ screen and click on ‘Arlo’.
- Further to this, select the smart hub or base station for your camera.
- If you don’t have any of these, then install them first following in-app instructions.
- After that, insert the batteries inside the camera and hit ‘Continue’.

- Then, tap on the ‘Sync’ button on your camera for a good 2 seconds and then release it.
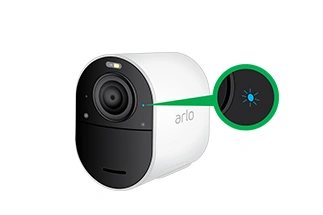
- Wait for the camera’s LED to blink blue, then tap ‘Continue’.
- Now, the base station or smart hub looks for the Arlo cameras.
- When it detects your camera, sync it to the base station.
- Name your Arlo security camera as per your choice and hit ‘Continue’.
- Finally, tap ‘Finish’ to end the Arlo Security Camera Setup.
Note: The above procedure is for the Arlo wire-free cameras. However, the process may vary as per the different Arlo camera types and models.
Final thoughts
Overall, this guide highlights the stepwise procedures for the Arlo Camera Setup using the app procedure. However, you are now able to leverage the benefits of the Arlo security cameras at home with just a simple click.